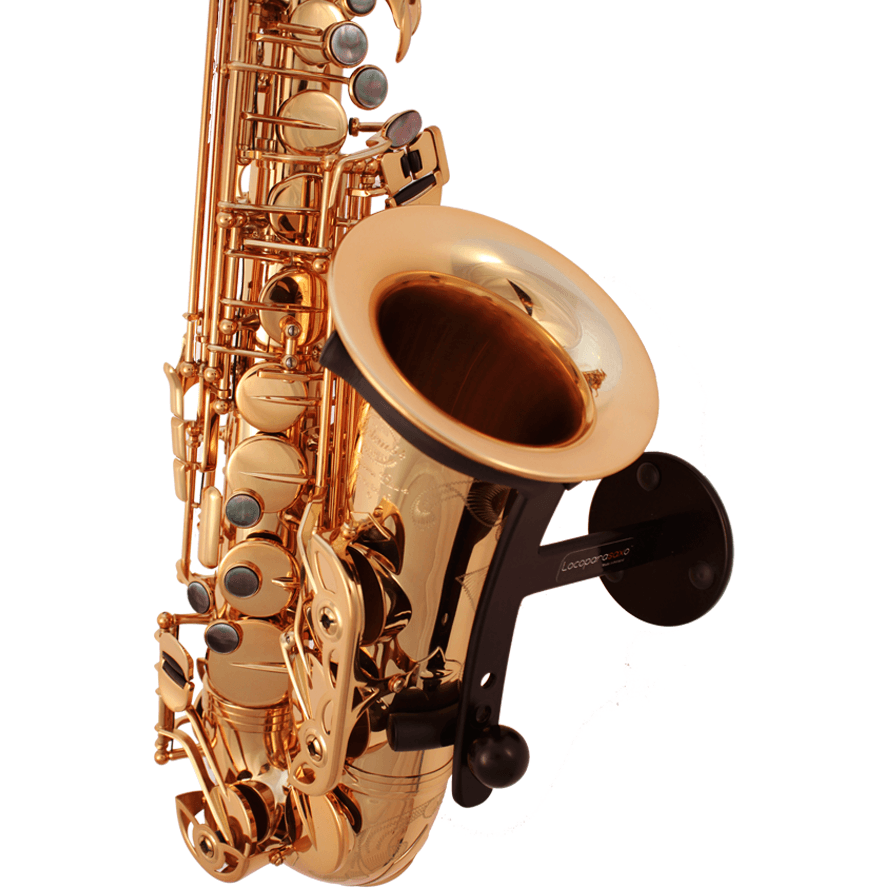
First, try to fit the stand onto your sax, and check if the bow support of the stand doesn’t interfere with any of the protection brackets on your sax when properly placed into the padded fork.
As it is right now it will fit most alto’s nicely, but you can take the bow support off, and simply move it in a lower or higher position. This may also be helpful to slightly alter the angle of your instrument once the stand is mounted.
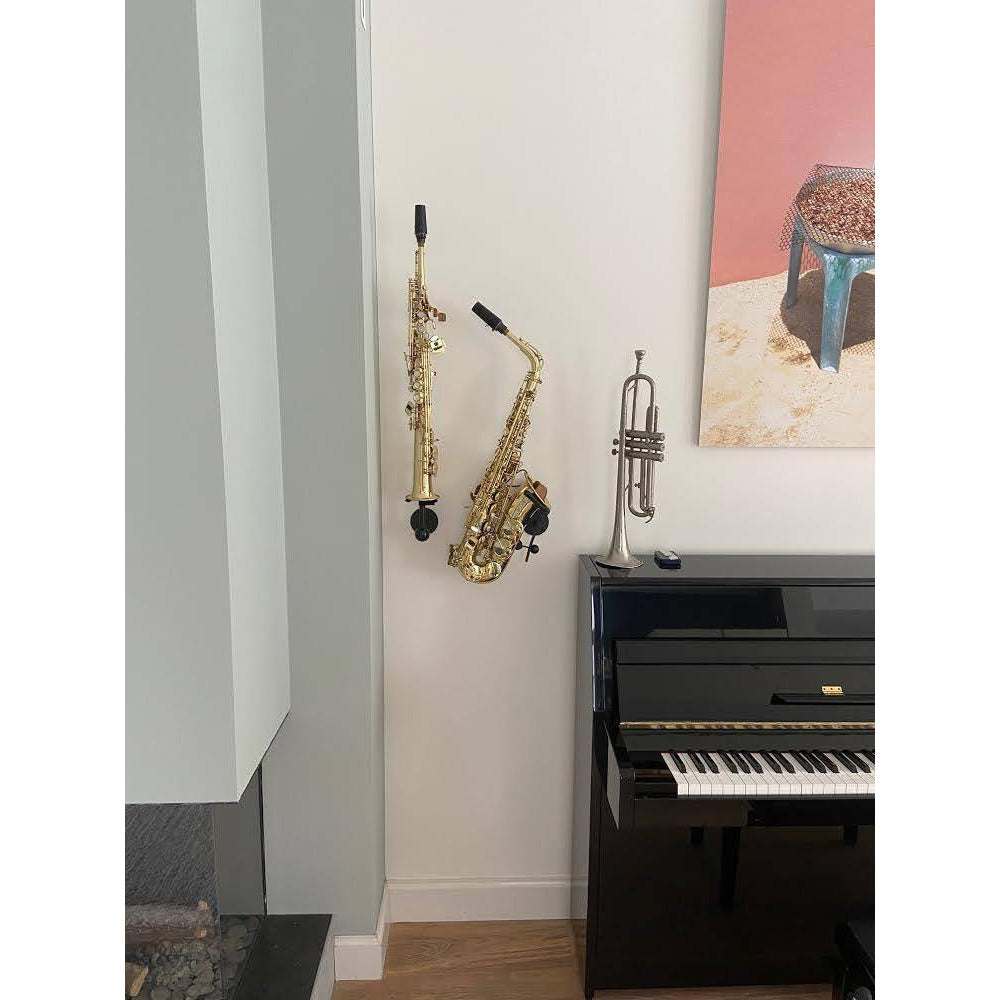
Furthermore you should decide where you want your instrument to be mounted. You could hold it up in front of the wall with your instrument in it in the preferred position, and have someone else mark the holes and mount the stand accordingly.
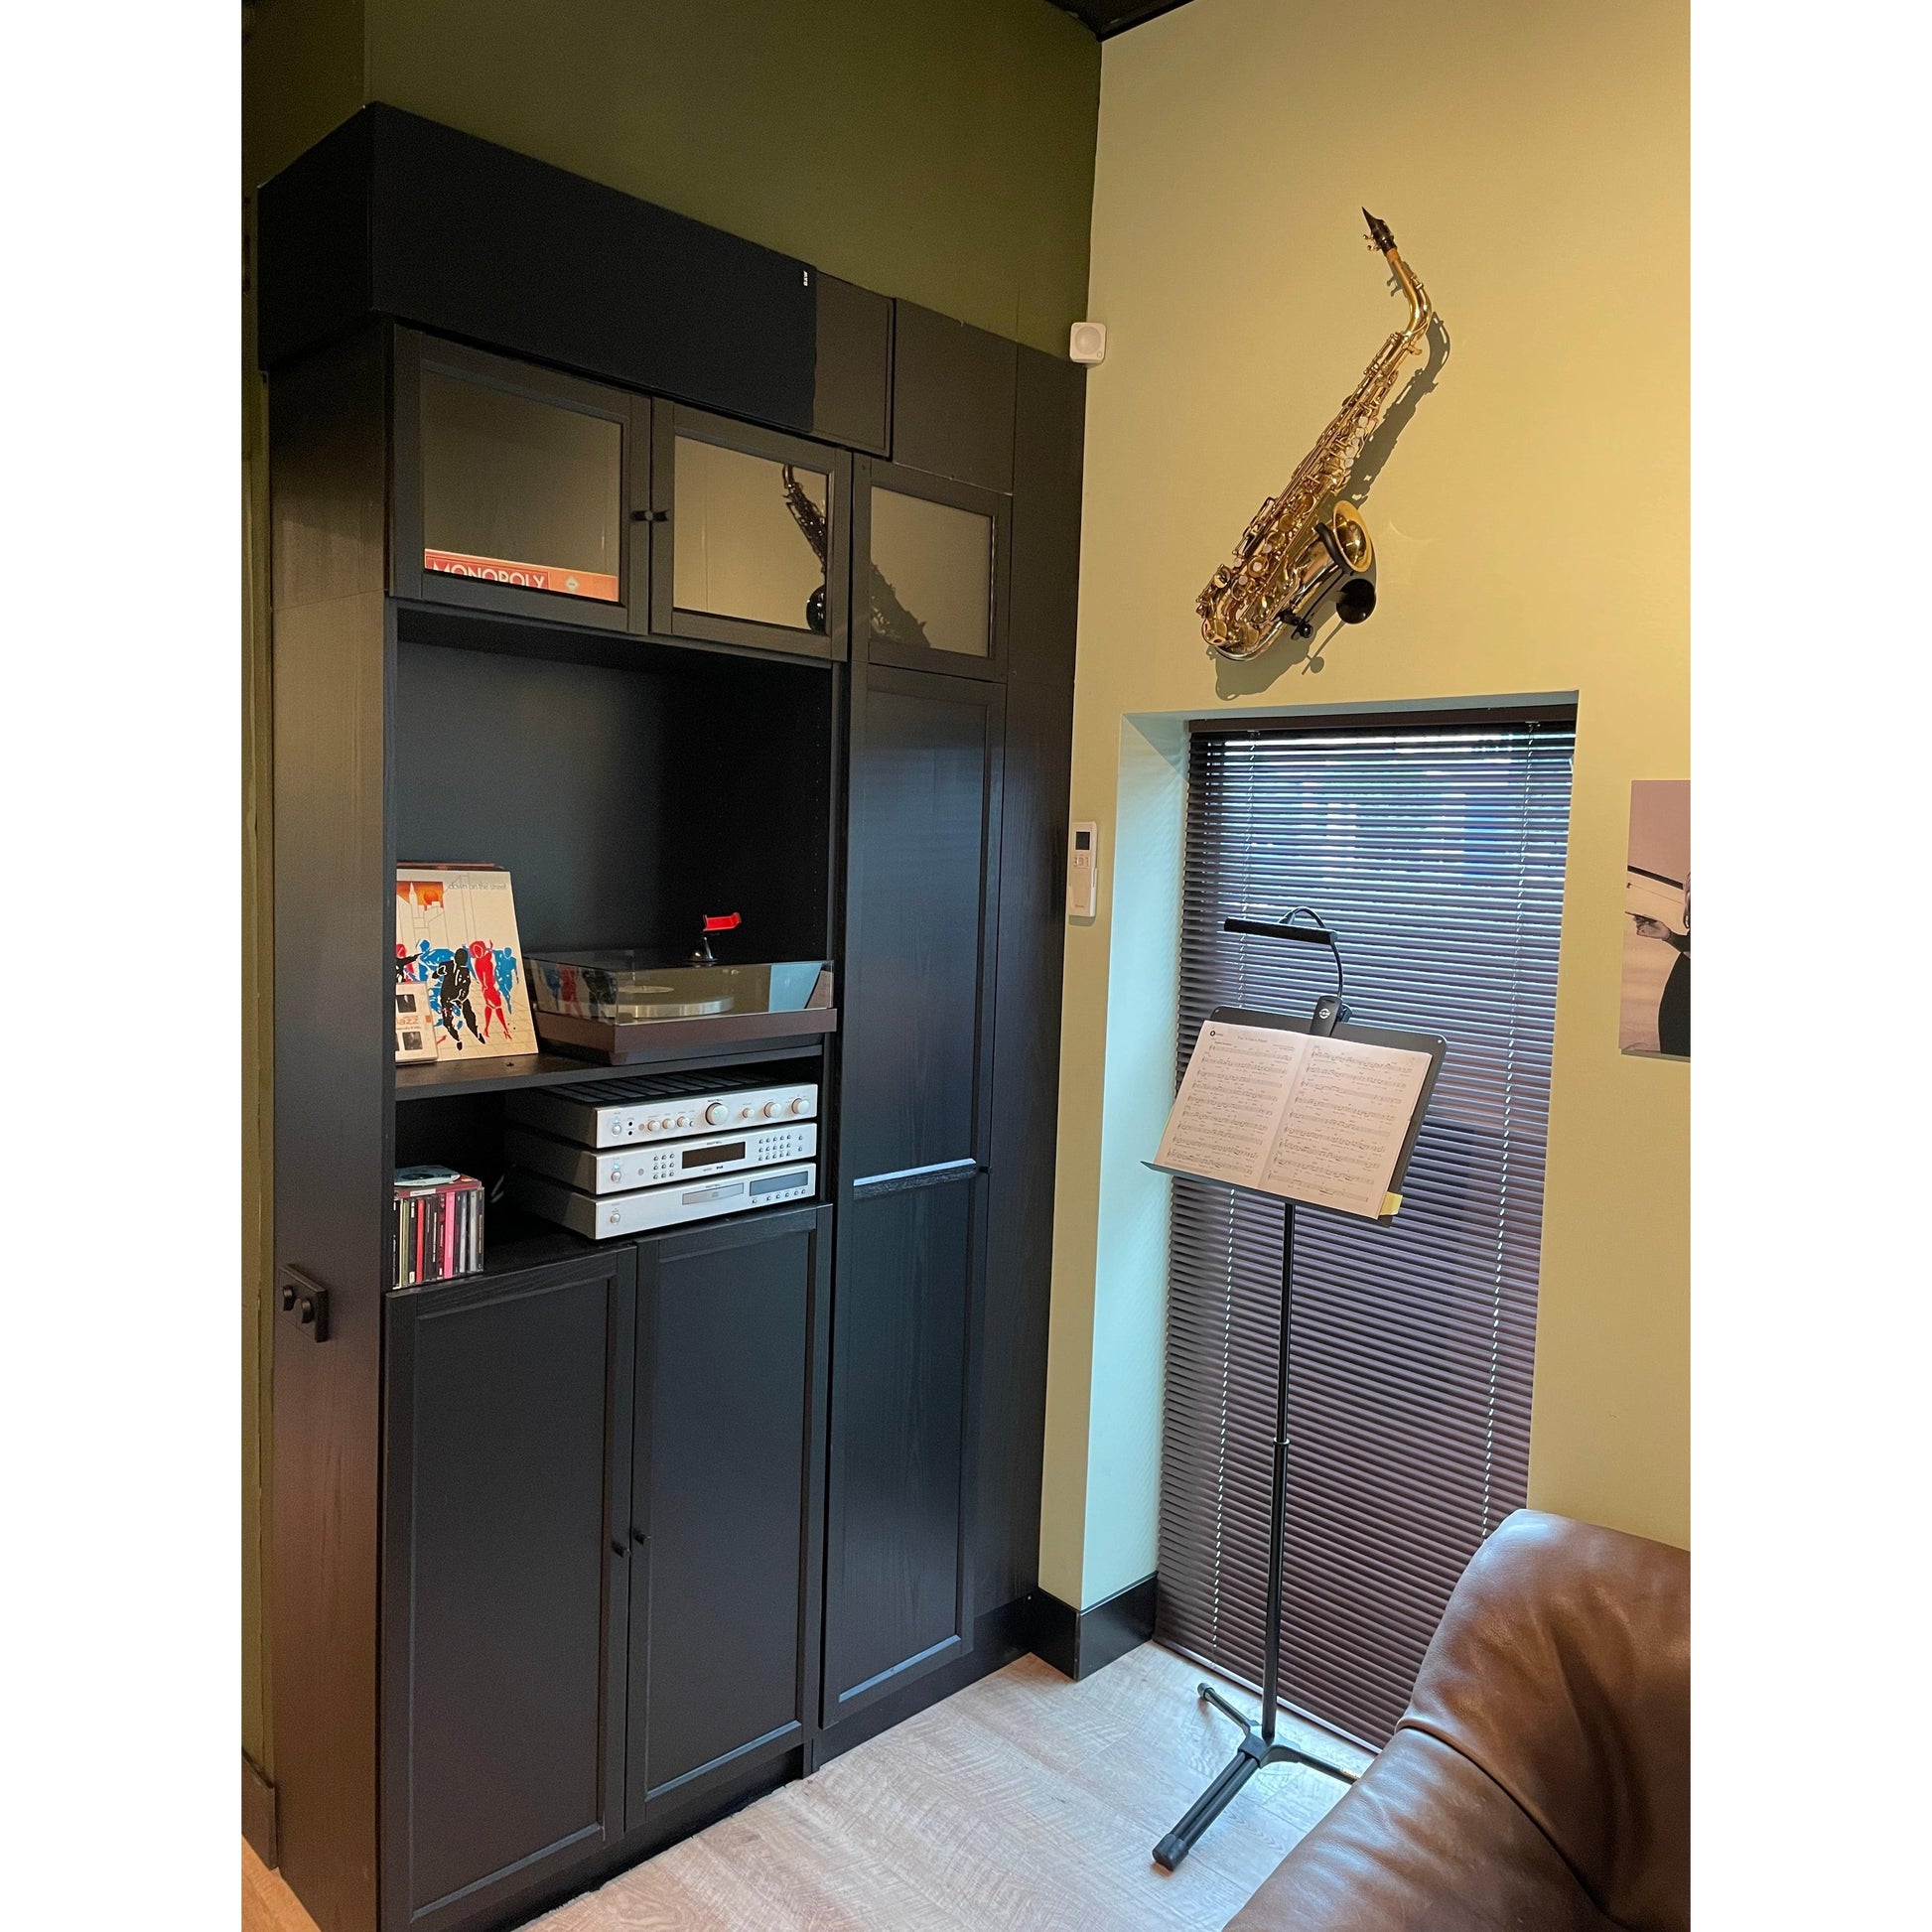
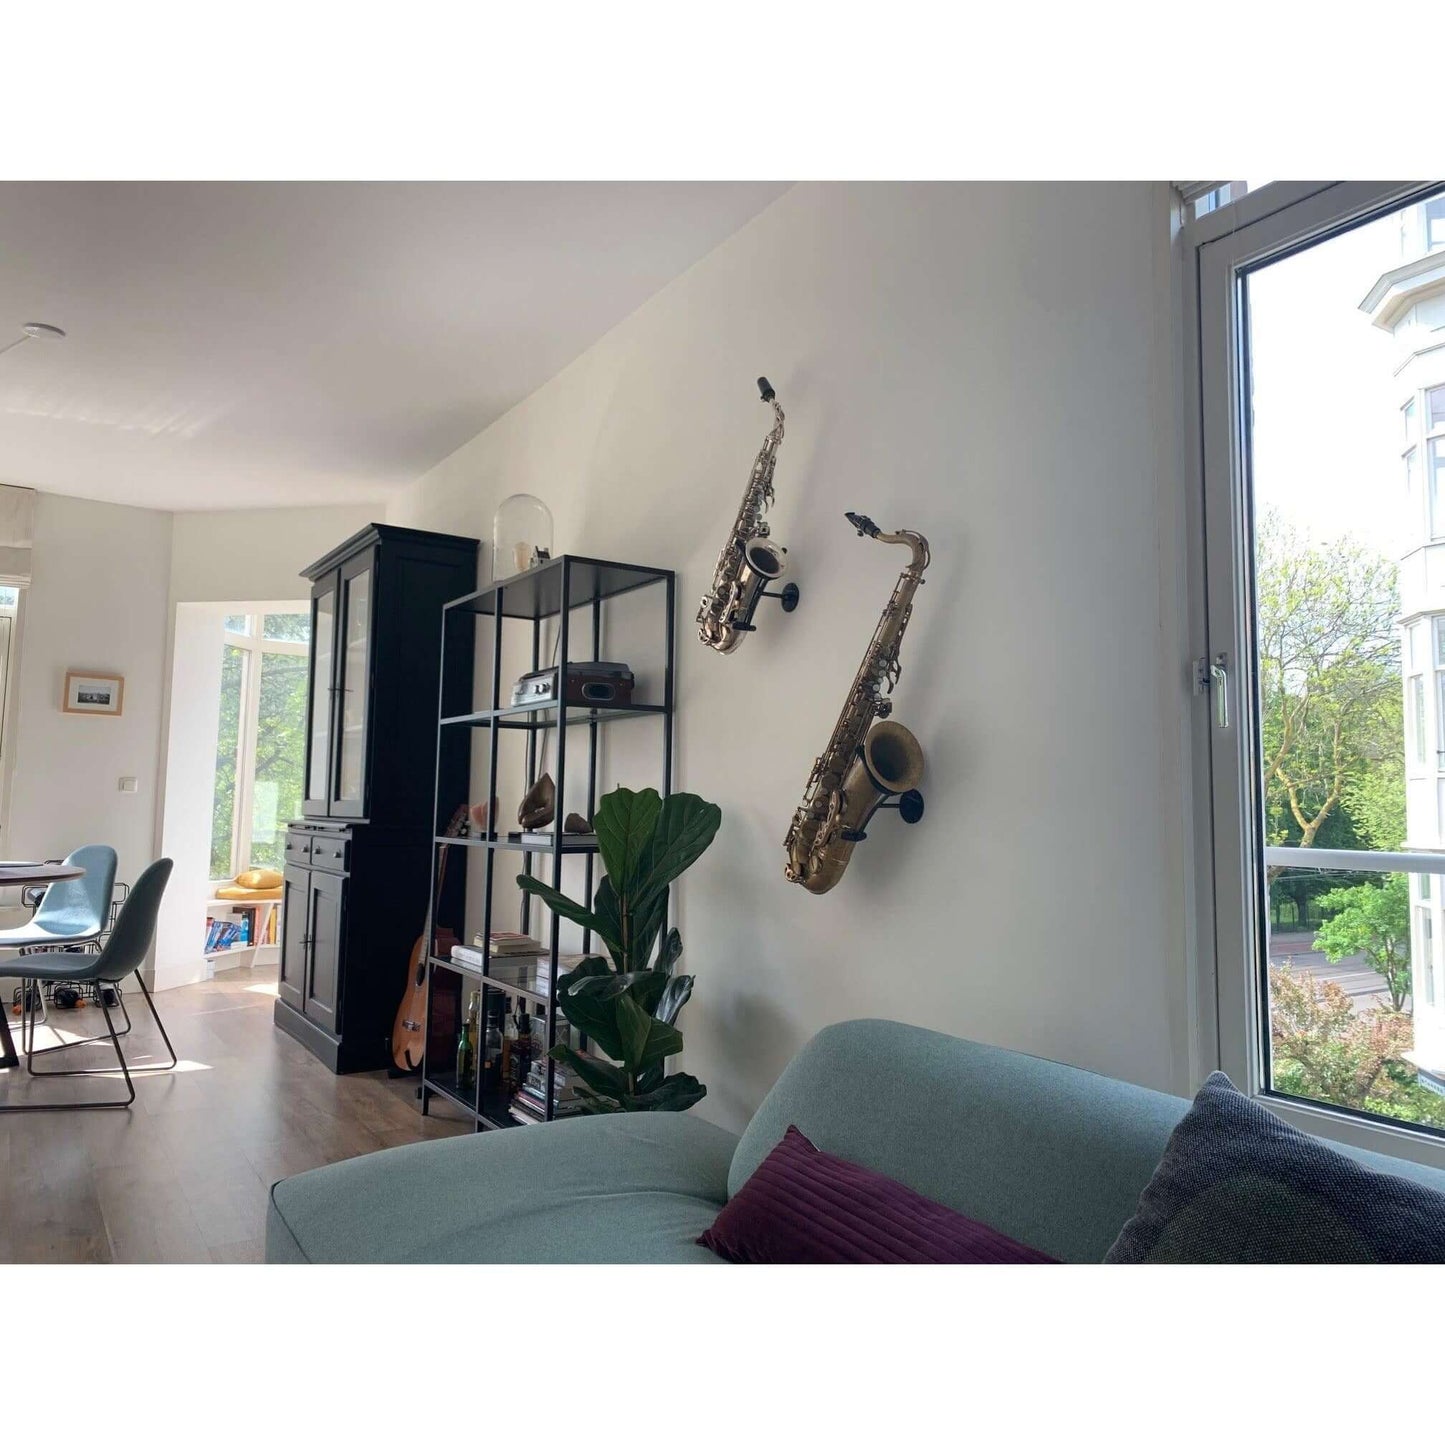
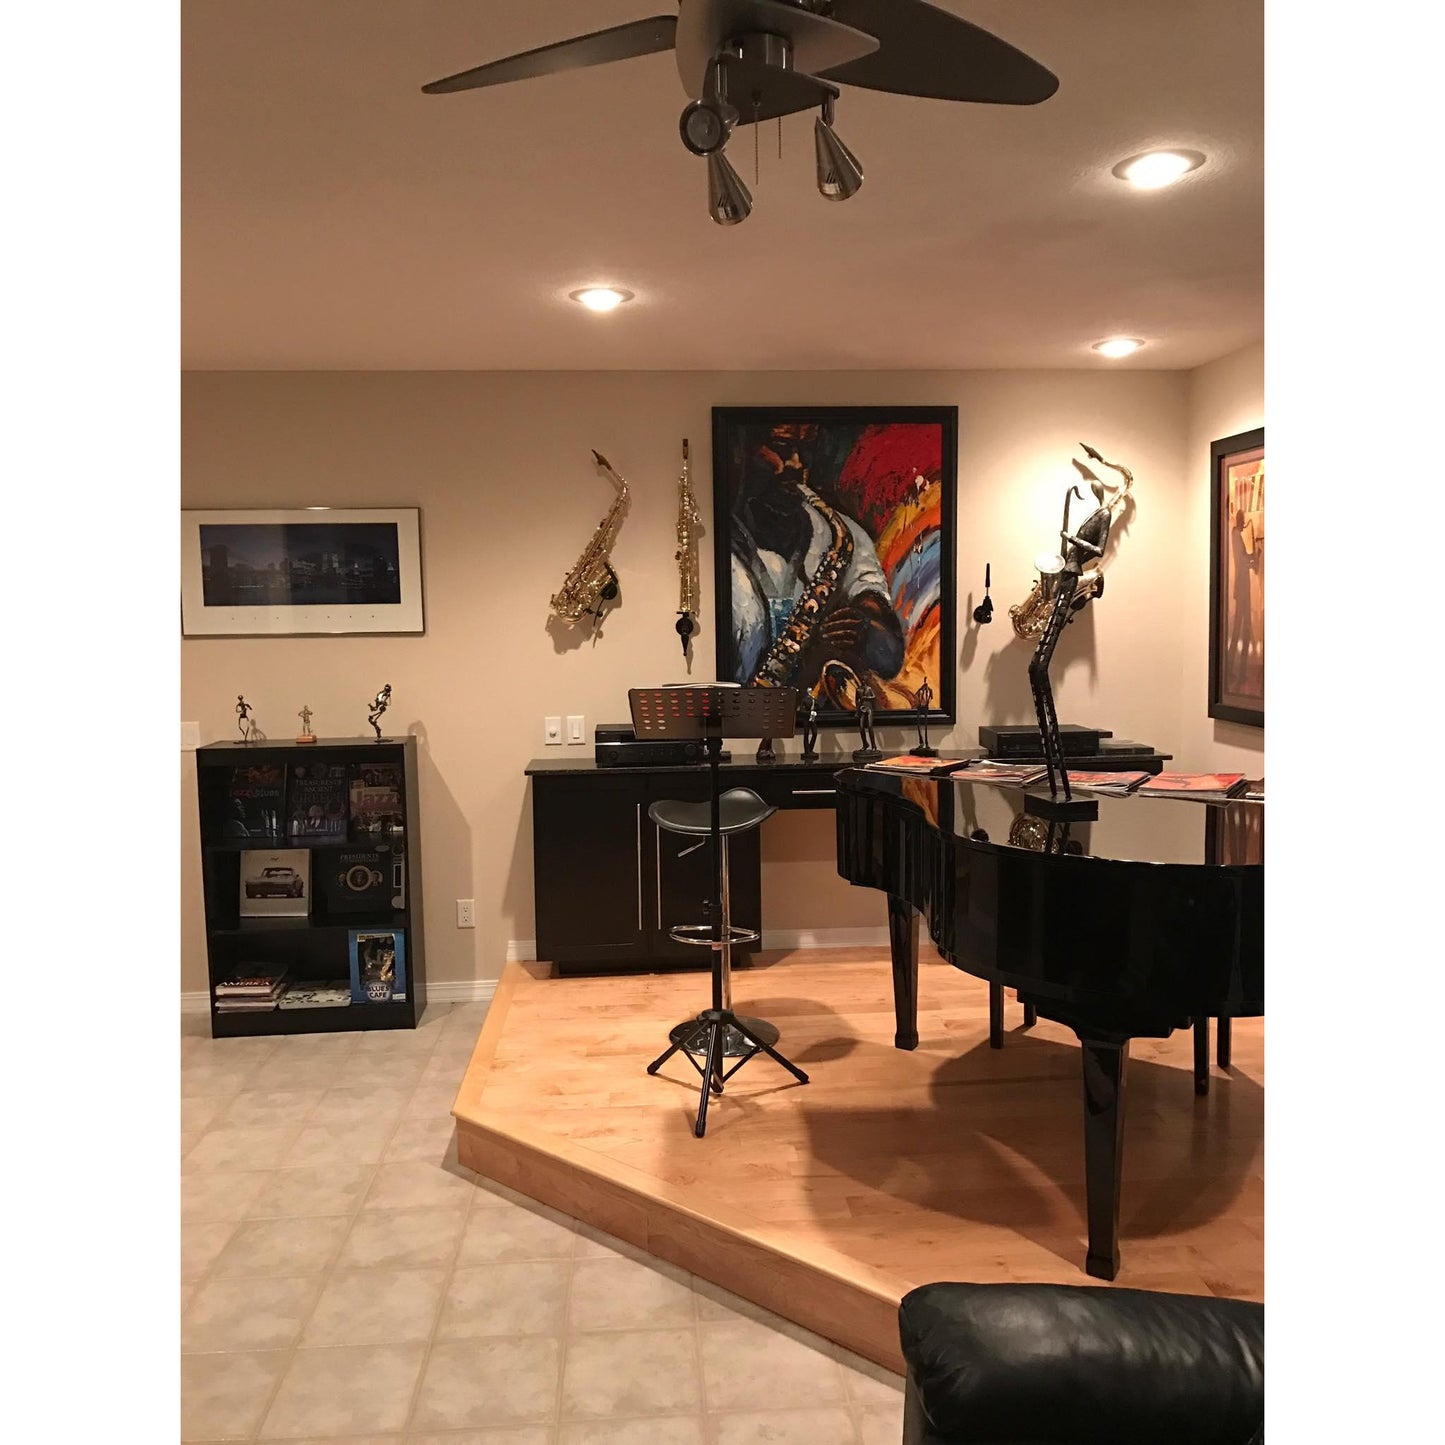
I strongly suggest mounting the stand so that the main body of your sax is positioned between the 1 and 7 on a clock face, but certainly less angled than between 2 and 8!
I recommend putting one screw in first, and double checking the angle before putting in the other two. Make sure you hold on to your sax in the stand at that moment, so it doesn’t tip over!
Especially with drywall it is of utmost importance to find a spot that offers solid footing for the screws, and has a stud or beam directly behind it. For stone walls you will have to drill holes with a 5 mm drill bit and insert the wall plugs and screws.
The little caps are to cover the screws. Put them on the tip of your forefinger and place them over the screw’s head. Then, with a twisting movement of your finger, feel for their proper position over the slot, then just push them in. Use some glue if all else fails.
If you use a cordless drill for the screws, make sure its chuck doesn’t damage the coating.
If for some reason you are not sure how or where to mount it, please contact us or get some professional help!
To keep the rubber in good shape you could spray a soft cloth with a dash of silicone spray and give it a rub once or twice a year.