


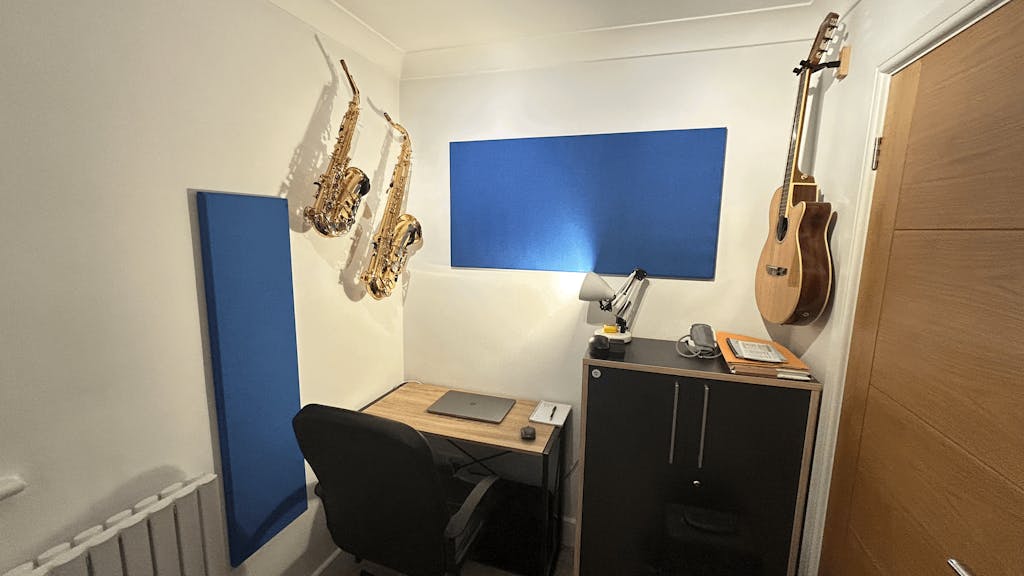
These are really great looking wall mount stands and very sturdy. Excellent advice on installation and came with good quality screws and wall plugs. Look fantastic in my music room and has given back to me much needed floor space!
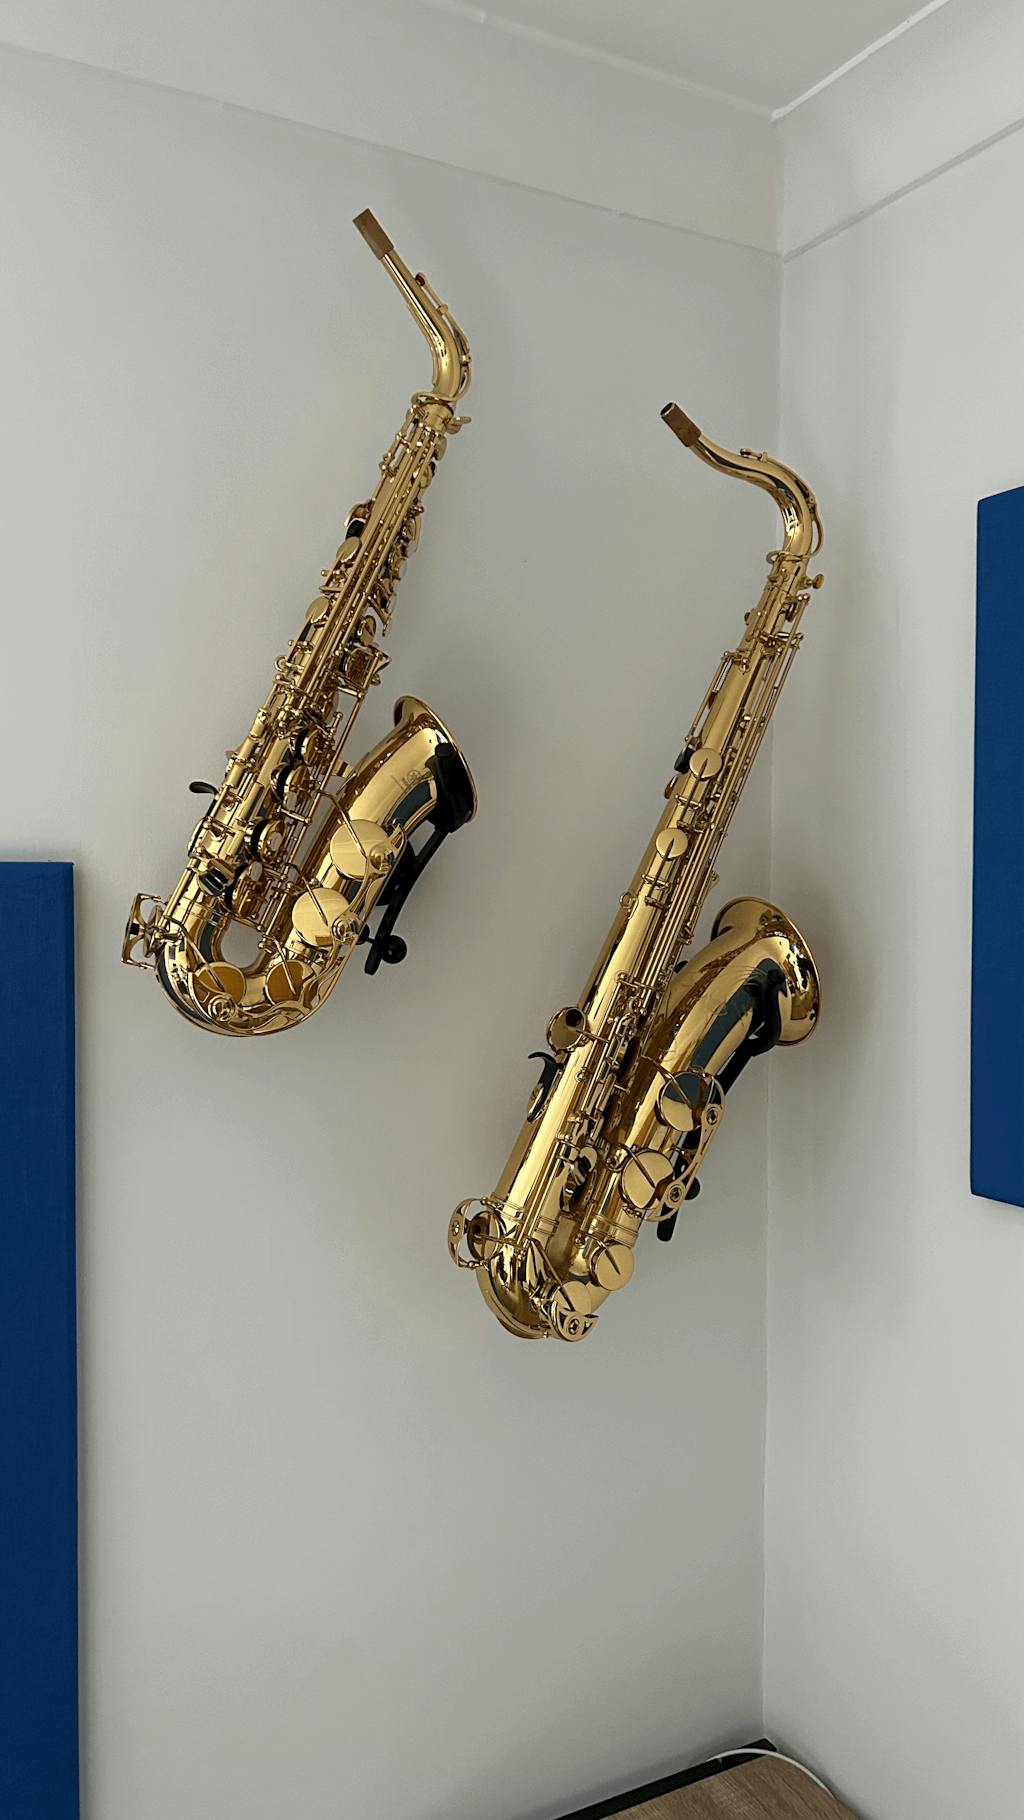
Beautiful, sturdy. Comes with contractor-grade brackets so I am very confident in the safety of my horn. Instructions very good, easy to mount. (These will be identical reviews for all the products I purchased - I am happy with all of them!)